Sony Xperia XZ Premium Teardown/Disassembly
Released on June 2017, this Xperia XZ Premium is the newest flagship smartphone of Sony. It comes to us with a 4K 5.50-inch touchscreen display, IP68 certified, Snapdragon 835 chipset, 19M rear camera. Here we’d like to show you the whole teardown process of this Sony Xperia XZ Premium, showing the ropes on how to replace its screen assembly, battery, charging port replacements etc.
Tools needed:
Heat gun
Plastic thin card
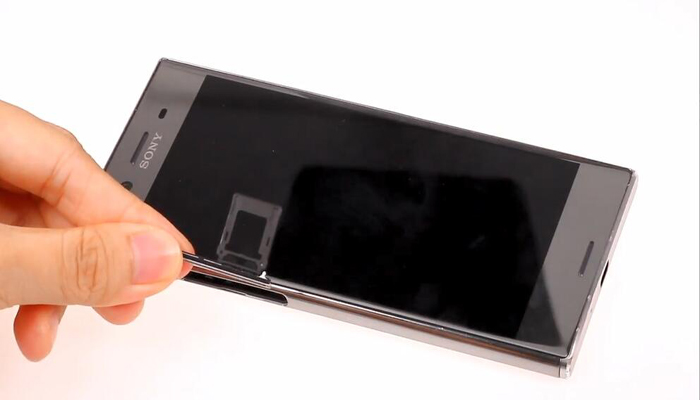
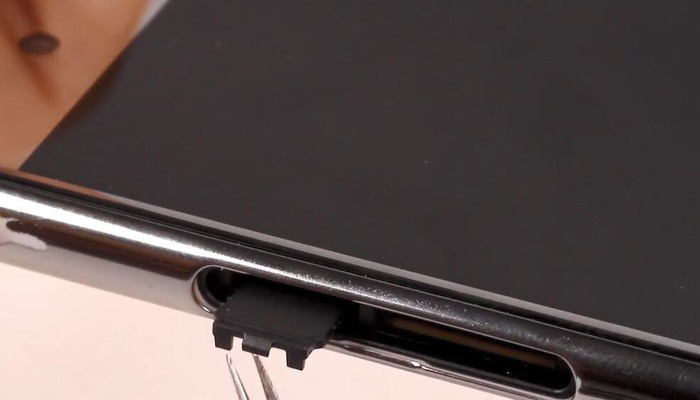
Step 1 Power off the Phone and take out the SIM Card Tray
It is necessary to power off the phone then take out the SIM card tray before starting this disassemble work.
Step 2 Remove Back Housing
Heating the back housing with a heat gun will make it easier to remove the back housing.
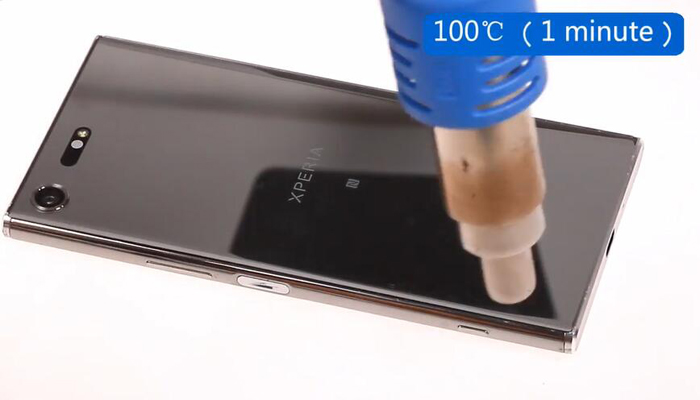
Pry the gap between back housing and frame with a plastic thin card then slide around the phone edge. (Heat it again if it’s hard to remove)
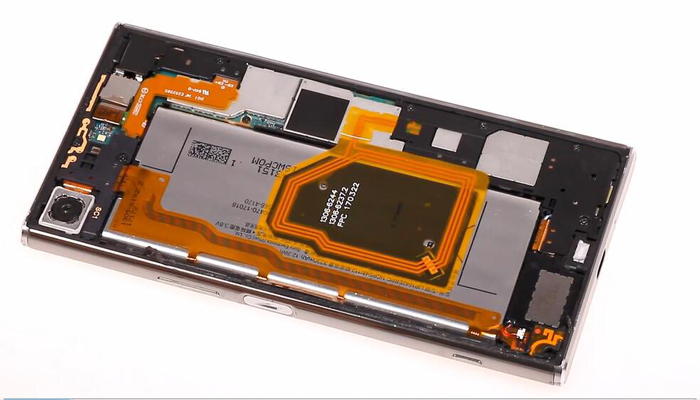
Step 3 Remove Motherboard
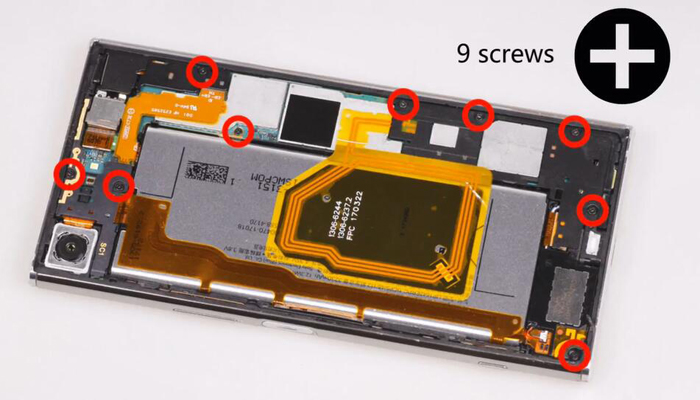
Undo 9 screws as shown in the picture below with Philips screwdriver.
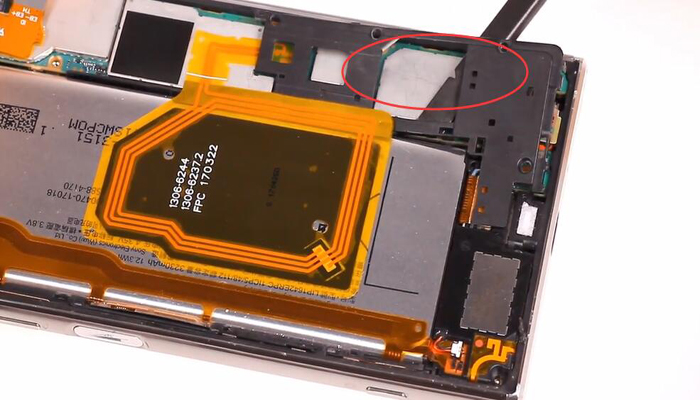
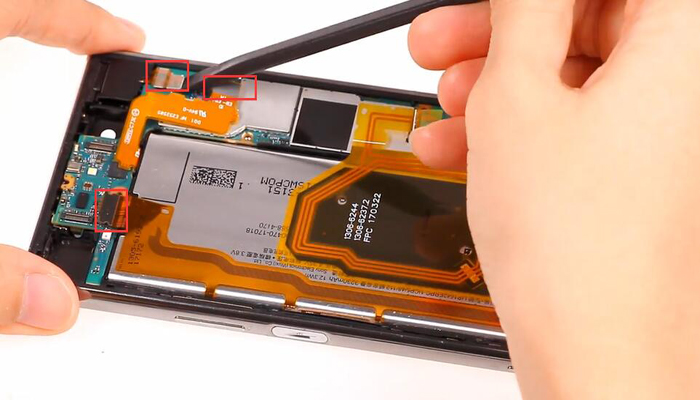
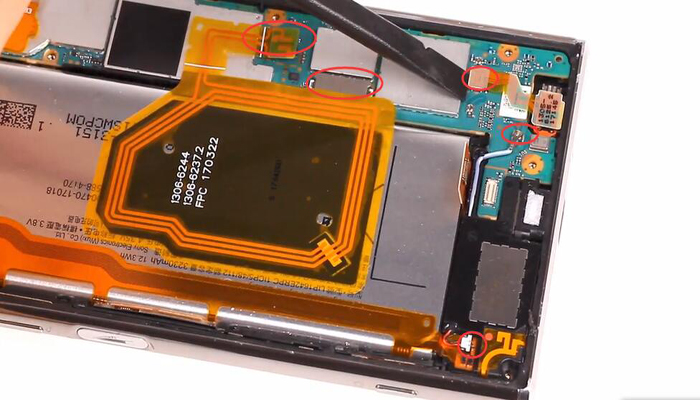
Remove 4 covers on the motherboard with a spudger.
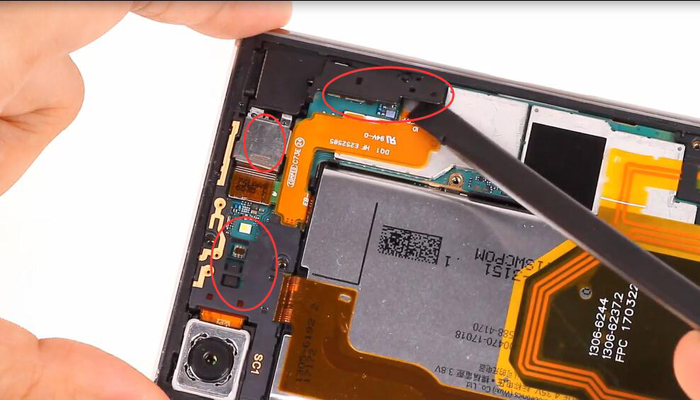
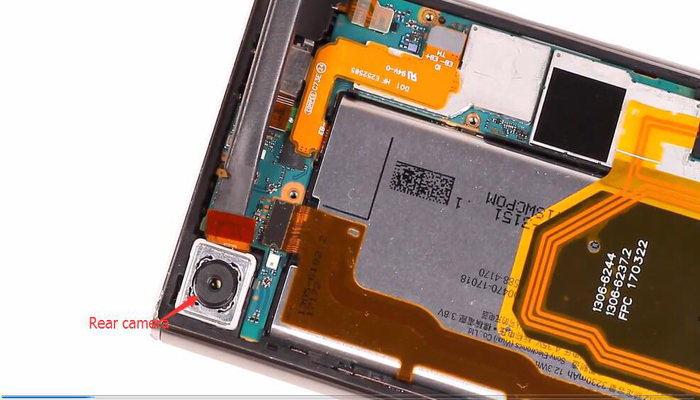
Remove 2 cameras on the motherboard.

Release connectors on the motherboard.
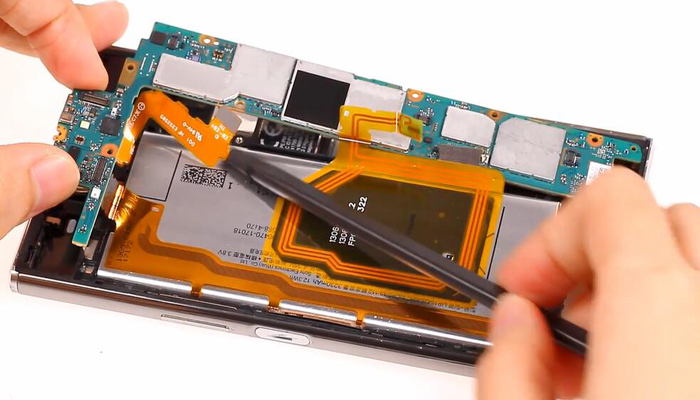
Pry out the motherboard with a spudger.
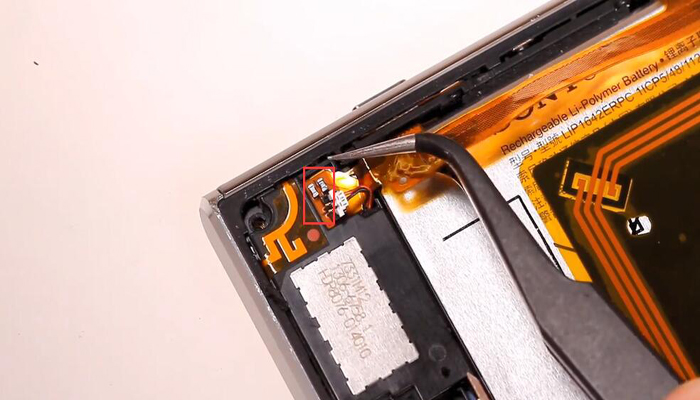
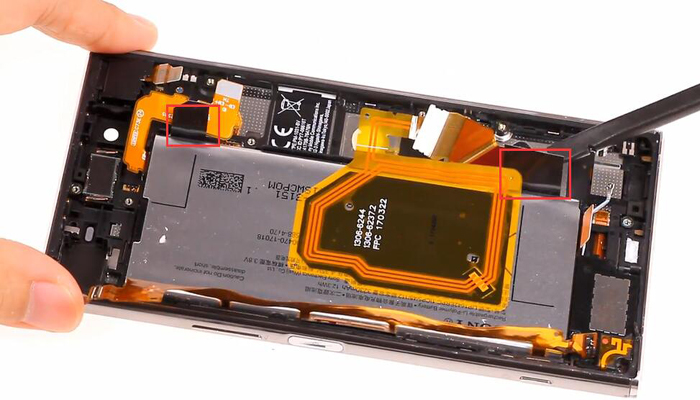
Step 4 Remove Battery
Remove the long flex cable on battery carefully with a spudger.
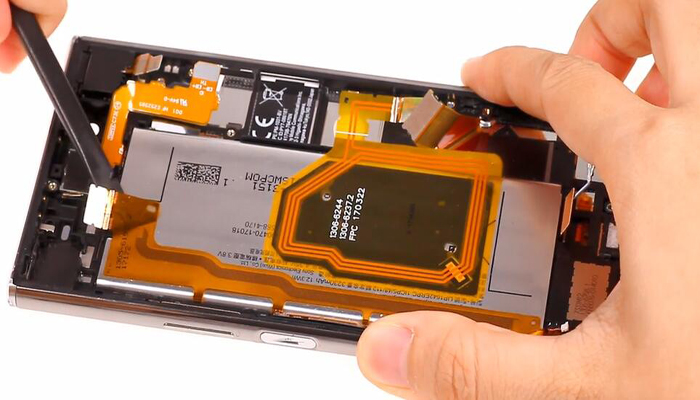
Tear off two battery tapes and pry out the battery with the spudger.
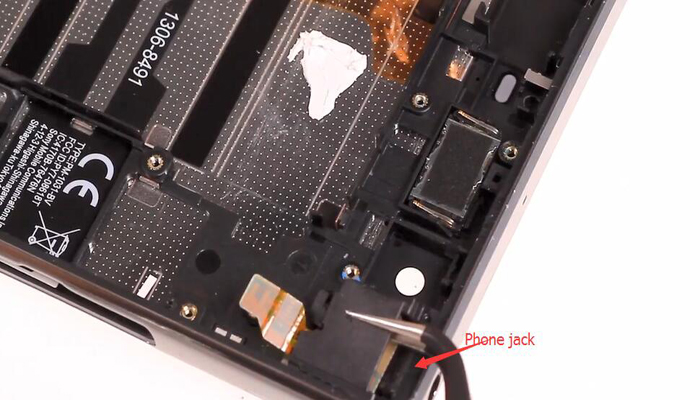
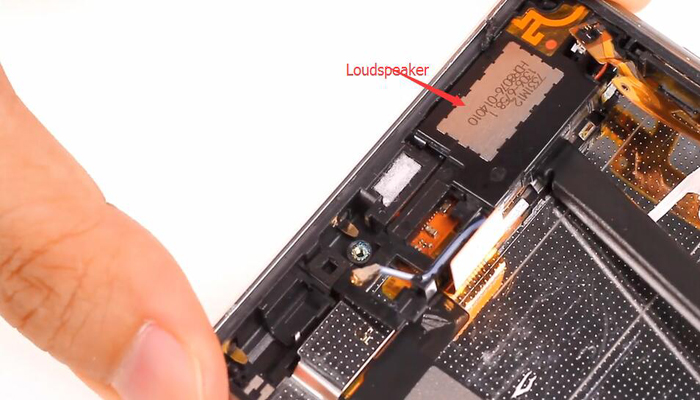
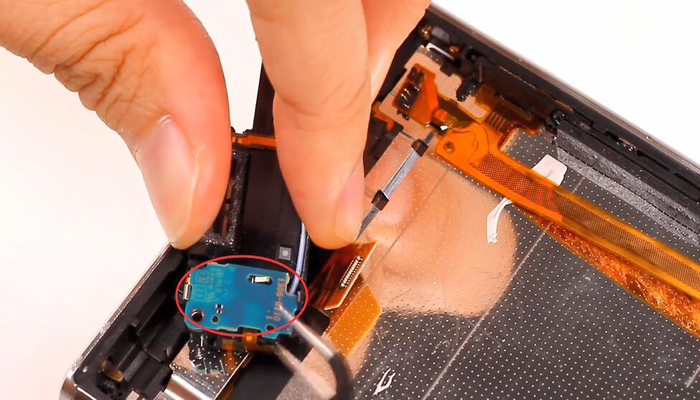
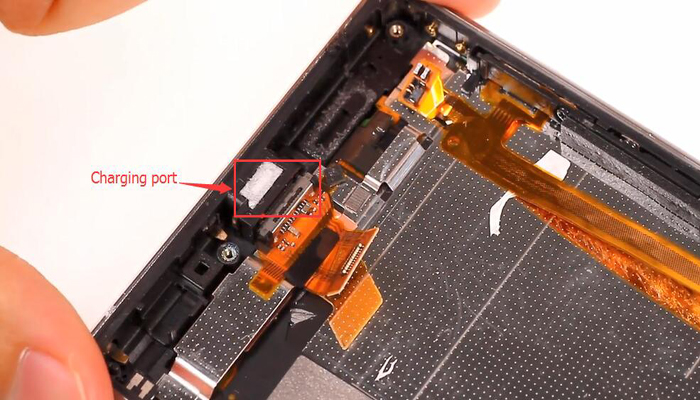
Step 5 Remove Other Parts
Remove other parts on the frame such as phone jack, charging port, ear speaker and loudspeaker, etc.

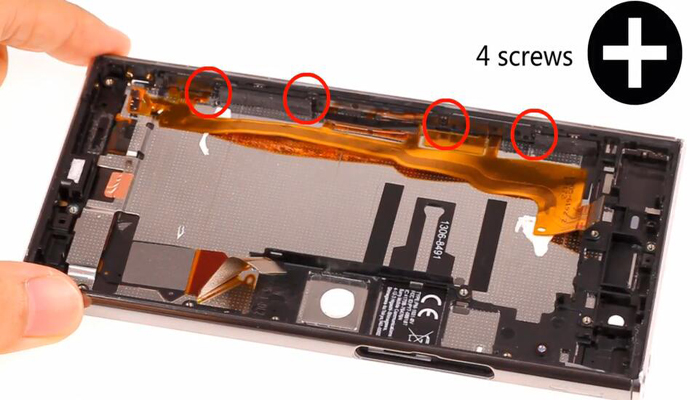
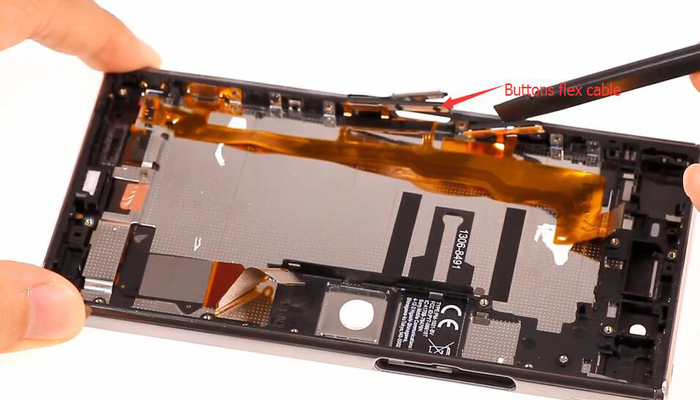
Step 6 Remove Side Button Flex Cable
Undo 4 screws as the pictures shown below with a philips screwdriver.
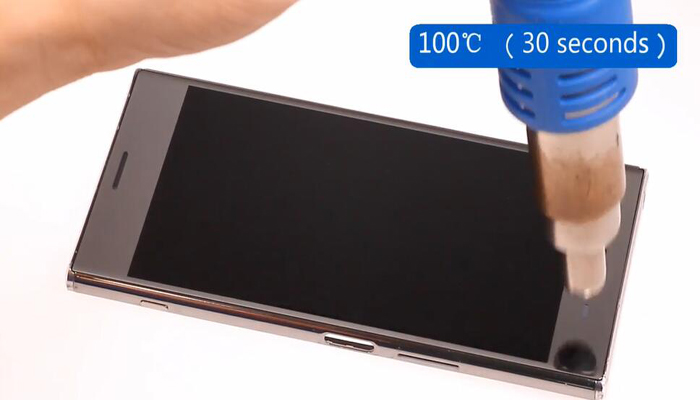
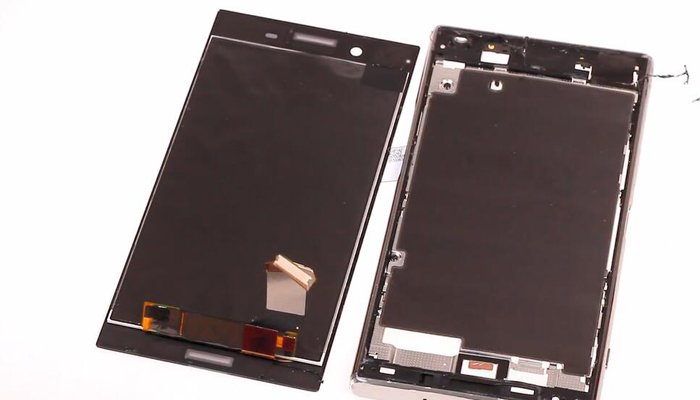
Step 7 Separate Screen from Frame
Heat the top of screen with a heat gun at 100 ℃ for 30 seconds
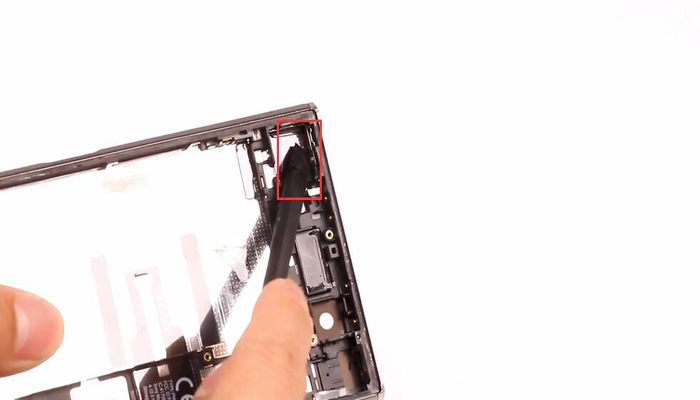
Pry the screen as the picture shown below to get a gap between screen and frame with a spudger.
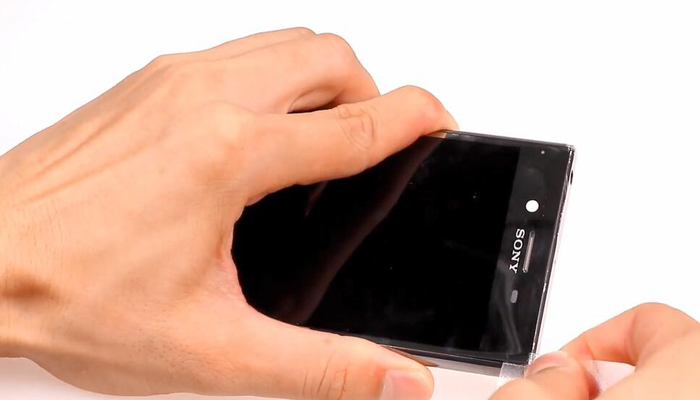
Cut the adhesive with a plastic thin card and slide around the screen.
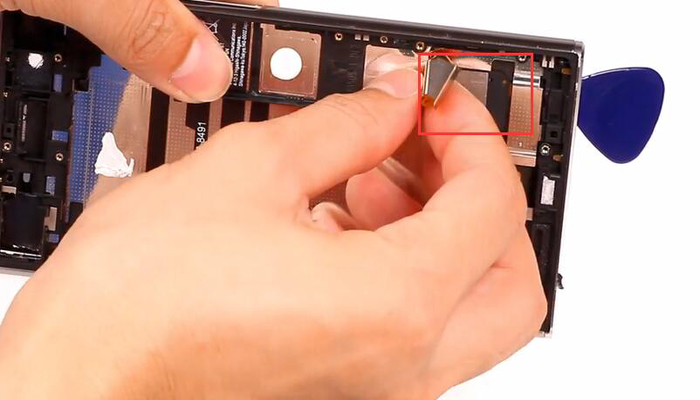
Tear off the tape on the screen connector.
Then the screen can be separated from the frame but be careful not to damage the flex cable.
Now the Sony Xperia XZ Premium teardown is completed and hope it can be helpful for you.
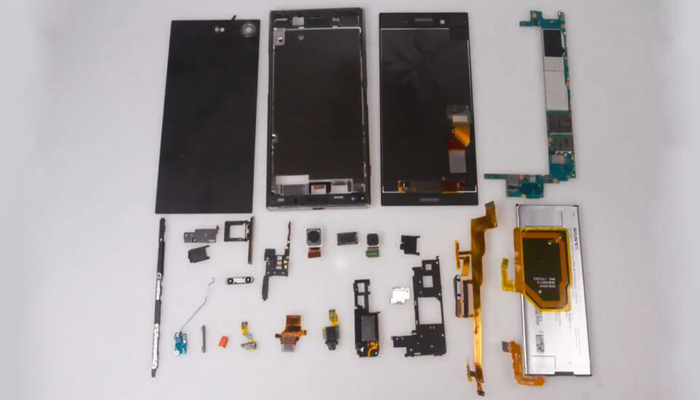
If you have any suggestions please leave a comment below and share with us.
This article comes from https://www.etradesupply.com/blog/sony-xperia-xz-premium-teardown-disassembly/


评论
发表评论